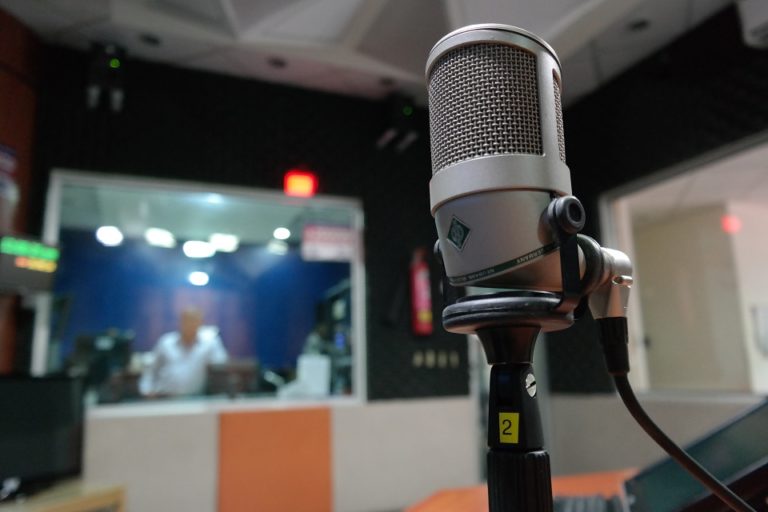
With the right acoustics, you can turn any room into a professional sound studio. However, you have to make sure that the acoustics are good enough to dampen the sound, stop reflection, absorb low frequencies, and keep the sound in the room balanced for mixing and mastering. If you are designing a home studio there are plenty of detailed reference guides online, in addition, consider hiring a professional consultant for your acoustic needs. Koikas Acoustics engineering consultants are some of the best in the business, a quick call might help you save time and get results sooner than you imagined.
Speakers need to be appropriately positioned, as do the acoustics and the listening area. Knowing how to get the most out of your setup allows for better mixes, and longer days spent behind the monitors.
So, why are acoustics important in a studio?
A Studio Must Be Quiet
The quality of any audio signal can be profoundly affected by the acoustics of the room. Whether you are recording music or voice into an open mic, mixing, or monitoring loudspeakers, the studio room tends to dictate the quality of the recorded material and how professional it will sound as a finished product.
A studio must be quiet because even ambient noise can ruin acoustic recordings or even mask details in your mixdown. You can use a Noise Criterion rating to determine the noise floor in your acoustic room. When the NC is too high, you should take measures to reduce it.
It is crucial to find out where the noise is coming from and attack it there. For example, you can remove the vent’s louvers to reduce the turbulence noise from air vents.
You can also buy padded carpet if the footsteps in the room above the studio tend to be audible. You can also isolate the air conditioning unit from the structural slab it sits to reduce the low-frequency rumble from it. You can also prevent sound from leaking from the door edges by sealing the doors airtight.
Good Sound Isolation
The recording studio needs excellent acoustics for good sound isolation. To increase sound isolation, you may have to build new partitions. You can measure your studio’s acoustical stopping power by measuring its Transmission Loss.
Heavy, massive partitions like concrete tend to offer better sound isolation. Therefore, you should consider which frequencies you need to stop because low frequencies can be hard to isolate. Hence, it would be best if you considered a concrete wall for your recording studio.
Room Treatment
Room treatment is as crucial as isolation. If the acoustics are wrong, even the quietest studio will be unsuitable. While there is no ‘right’ reverberation time, a too-long reverberation time tends to mask detail. A too-short reverberation, on the other hand, tends to sound unnatural.
The absorption should govern reverberation time. For lower reverberation time, the absorption should be more. You can also use porous absorbers to add absorptions. You can also add sheets of acoustical foam on reflective surfaces to reduce reverberation time suitably.
You can also lengthen the reverberation time by removing absorbing materials. This could actually be the perfect excuse to get rid of that ratty old sofa you have been holding on to in your control room. You should also invest in a flat reflective wall because the sound quality is affected by how sound reflects from the surface.
Therefore, flat reflective walls are ideal for a spectacular reflection, yielding of echo, and an acoustic glare. You can also add bass traps to help with smooth bass response.


