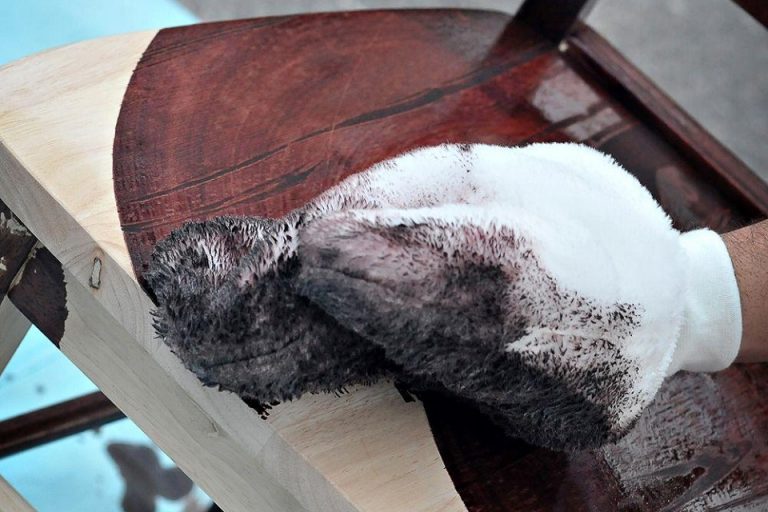
Whilst traditional paint brushes and rollers work great for most surfaces. There are some surfaces that they just don’t lend themselves to. That’s when a painter’s mitt might just be what you’re looking for. But what are painter’s mitts? What is a painter’s mitt good for? And how do you actually use one? Read on to find out more!
What Is A Painter’s Mitt?
Painter’s mitts look like a glove. However, unlike a glove, they have multiple layers. One of which protects against any paint from getting through to your skin. Whilst another makes it easy to apply any paint or stain to those hard-to-reach surfaces. They also make it easier to apply paint to surfaces with an odd shape.
What Are Painter’s Mitts Useful For?
Sometimes paint brushes just can’t get to certain places. Or they don’t seem capable of applying a nice coat to round and wonky shapes or bumpy surfaces. Be it a staircase railing, most types of fencing, piping, rainings, or shapely baseboards or cornice molding. If you ever decide to paint something in your house or garden. You are likely to come against one surface or other that could benefit with the helping hand of a painter’s mitt.
Fortunately, painter’s mitts can also be used with a variety of paint types, including oil-based paints, latex paints, and outdoor stains for decking. They are also designed to save you time when applying the paint or stain to surfaces that would take you an age with a traditional paintbrush. All while offering a neater finish.
How Do You Use A Painter’s Mitt?
If you are worried about using painter mitt’s, you don’t have to be. Indeed, using a painter mitt is easy if you know-how. Here, we outline 7 steps to get you started using a painter’s mitt:
1. Brush Down Painter’s Mitt
Before you get started, it’s important to give your mitt a quick brush down. This will help to remove any dust or unwanted particles that might be loitering on its surface. Even if it’s new, it’s a good idea to do this to remove and prevent anything unwanted getting into your paint.
2. Wipe The Surface
Just as you want the brush to be clean of dirt and dust, you need to make sure the surface you’re painting is completely clean. Be sure to let the surface dry fully before applying your paint or stain.
3. Put the mitt on
Painter’s mitts can be used on either hand whether you are left or right-handed.
4. Dip Your Mitt
Lower your mitt into the paint or stain. Be careful not to dip the mitt any deeper than the cuff.
5. Get Painting
Now for the fun bit! Start painting the surface with the loaded mitt. If you’ve ever spent an age carefully painting a staircase spindle only to see drip after drip, you’ll soon see the benefits of the painter’s mitt here.
6. Reapply
If you start to run out of paint on your glove, simply re-dip your mitt.
7. Cleanup
When you finish, it’s important to get things cleaned up as soon as possible. Rinse out any left-over paint from the mitt and make sure it is fully dried out before reusing.
Types Of Painter’s Mitt
There are a number of different painter’s mitts that are useful in different situations. 3 of the best painter’s mitts are:
1. The Traditional Painter’s Mitt
WIth 3 layers, the traditional painter’s mitt made with synthetic material will protect your hand from paint getting through. ANd make it easy to apply your paint or stain.
2. Lint-Free Mitt
If you are working with oil and stain, then it may be worth opting for a higher quality painter’s mint made using a lint-free cloth. This makes it super absorbent and ensures a clean finish.
3. Micro-Fiber Mitts
If you are working on finer details or touching up your car, then a micro-fiber mitt is a great choice.
As you can see painter’s mitts come in all shapes and sizes. And if you are planning on painting something with a unique shape or in a hard-to-reach location. Then a painter’s mitt could be the helping hand you need.


