
Key Takeaways:
- Measure the finished room and every fixed obstacle before selecting a table.
- Plan for cue clearance, walking paths, seating, lighting, storage, and delivery access.
- Choose a table size that fits comfortably rather than forcing a larger model into a tight layout.
- Use durable finishes and flexible furnishings to make the room enjoyable between games.
- Include professional assembly, leveling, and future maintenance in the initial plan
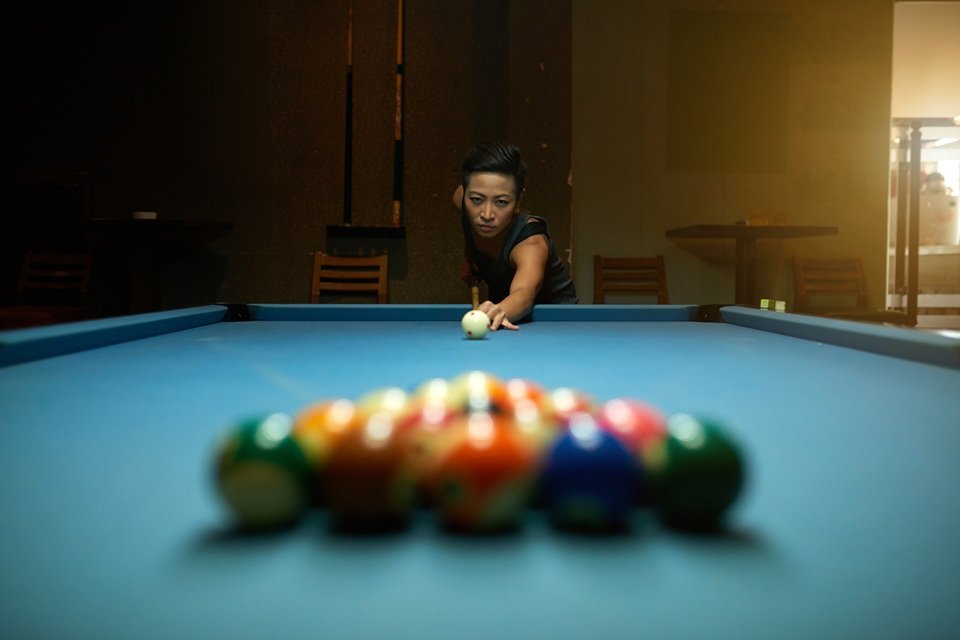
A Raleigh home game room can become a favorite place for family nights, friendly competition, and relaxed entertaining. Still, the pool table should never be treated as just another piece of furniture. It needs room for full-cue strokes, clear circulation, and comfortable seating for nonplayers to sit and talk. For Raleigh homeowners comparing equipment and service needs, pool racks Raleigh, NC, resources from Met-Tech Inc. offer a useful local perspective. The Raleigh-based company has manufactured custom pool tables since 1943. It provides table moving, assembly, recovering, and repair services, with delivery availability across the Eastern United States from Louisiana to New Jersey. That experience makes delivery access, leveling, and long-term care important considerations from the first sketch of the room.
Table of Contents
Start With The Room, Not The Table
Begin with the room’s finished dimensions, not the dimensions listed on a home plan. Measure wall to wall after trim, flooring, built-ins, and doors are in place. Then mark windows, closet doors, fireplaces, columns, vents, electrical panels, and stairs. These details can quickly shrink the usable play area. Make the table the room’s anchor. In a basement, bonus room, converted garage, or dedicated den, position it where players can approach all sides without cutting through the main entrance path. Purposeful screen-free game rooms can also give a home a defined space for conversation and offline recreation.
Measure Playing Space & Cue Clearance
A pool table requires more than its outside footprint. Players need space behind the cue for a natural stance and a complete stroke. A traditional billiard-room layout typically allows about 5 feet of clearance around the table, although the exact requirement depends on the table rails, room obstacles, and cue length.
- Measure the room length and width.
- Use painter’s tape to mark the table’s outside dimensions on the floor.
- Add cue clearance around all four sides.
- Check the taped area against doors, cabinets, shelves, and fixed features.
- Walk the perimeter while holding a cue before adding other furnishings.
A billiard room is traditionally planned around lighting and playing clearance, which remains a practical starting point for a modern Raleigh game room.
Choose The Right Pool Table Size
Match The Table To Real Usable Space
- 7-foot tables: Often suit compact rooms and casual play.
- 8-foot tables: A common choice for home game rooms with more available clearance.
- 9-foot tables: Provide a larger playing surface but demand a substantially more generous room layout.
The best choice is the size that lets people shoot comfortably from every side. A smaller table with clear cue paths is usually more enjoyable than a larger one surrounded by walls, bar stools, or cabinets. Confirm the manufacturer’s exact outside dimensions before ordering, since cabinet and rail measurements vary.
Plan Traffic Flow & Furniture Placement
Keep the room’s primary walking route outside the active shooting zone. Guests should be able to enter, get a drink, or take a seat without crossing behind a player. Place a television, snack station, or bar-height counter beyond the cue-clearance boundary, and make sure drawers and doors do not open into it. Choose movable chairs, small ottomans, or compact benches when the room has multiple uses. Place spectator seating along a wall or in a corner where people can watch without being in the path of a backswing.
Use Better Lighting For Play & Comfort
Center a dedicated fixture or balanced group of fixtures over the table to create even coverage across the playing surface. Avoid exposed bulbs or bright windows that shine directly into a player’s eyes. Dimmable ambient lighting around the room helps shift the mood from an active game to a quiet evening with guests.
Select Flooring, Walls, & Sound Control
Use stable, easy-to-clean flooring that supports heavy furniture. If adding an area rug, keep it clear of the table legs and cue paths so it does not create a tripping point. Upholstered seating, curtains, and acoustic wall treatments can soften the sound of conversation and balls in a hard-surfaced room. Choose wall colors that complement the table finish and maintain good visibility. Keep fragile artwork, glass shelves, and decorative objects away from areas where a cue or chair may strike them.
Add Seating, Storage, & Extra Game Features
Wall-mounted cue storage keeps cues protected and reduces clutter. A cabinet or drawer can hold balls, racks, chalk, brushes, and spare tips. Leave a separate surface for drinks, phones, and serving trays instead of using the pool table as a shelf. Consider a card table, foosball table, shuffleboard table, or air hockey only after protecting the pool table’s clearance. A room with fewer, better-spaced features will feel more comfortable than one packed with games.
Prepare For Installation & Long-Term Care
Measure the front door, hallways, staircases, turns, and the room entrance before delivery day. Protect floors, trim, and walls during installation, then confirm the table’s final location before it is leveled. Keep it away from persistent moisture, direct sunlight, and extreme temperature fluctuations when possible. If the table must be moved, recovered, repaired, or releveled later, professional service helps protect both the table and the room.
Avoid Common Game Room Planning Mistakes
- Buying a table before measuring the finished room.
- Ignoring cue clearance near furniture and walls.
- Blocking doors, vents, windows, or electrical access.
- Using one harsh overhead light with no ambient lighting.
- Adding too many games and too little seating.
- Forgetting to measure the delivery route.
- Skipping final leveling after setup.
A Simple Planning Checklist
- Record room dimensions and fixed obstacles.
- Select a table size based on genuine clearance.
- Test cue paths before purchasing furniture.
- Plan lighting, seating, storage, and traffic flow.
- Measure every part of the delivery route.
- Arrange installation, leveling, and future maintenance.
Conclusion
A successful Raleigh game room is built around movement, comfort, and everyday use. The ideal layout is not necessarily the one with the largest table or the most equipment. It is the one that gives players enough room to enjoy the game while giving everyone else an inviting place to gather. Before choosing furniture or recreational equipment, consider the room’s dimensions, ceiling height, lighting, and the space needed to move comfortably around each piece. A pool table, for example, requires enough clearance for players to use their cues without hitting walls or nearby furniture. Seating, storage, and walkways should also fit naturally into the layout rather than making the room feel crowded. For Raleigh homeowners, it helps to think about how the space will be used on everyday evenings, during weekend gatherings, and on special occasions. By balancing entertainment, accessibility, and practical design, you can create a game room that feels welcoming, functions well, and remains enjoyable for years to come.